

When we went to Florida we had no furniture... none! But when we got to Florida we got to take his bedroom furniture and bring it back with us!
This is the before... pretty 80's huh?!
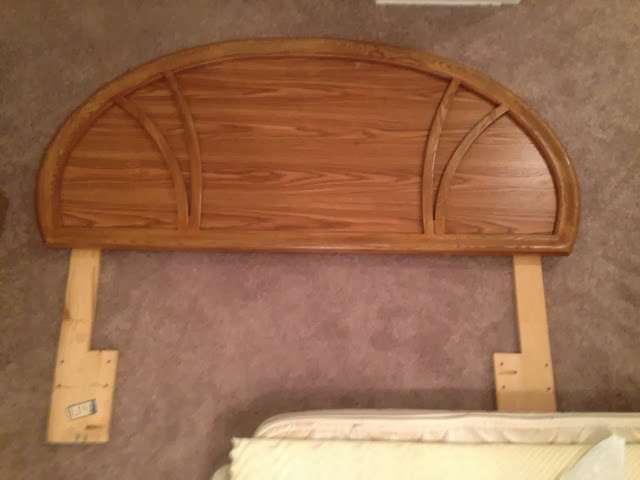
The things needed to make over an existing headboard is this following.
- 1 old headboard
- Batting (can be found at Joann's or Michael's in the quilting/fabric department)
- Fabric (I got mine from Joann’s from the Customize your home Department it was 40% off)
- A staple gun and staples can be found at Lowes or Home Depot
- Foam (I used an old mattress pad)
Now for the steps:
1. Cut the Foam to fit around the headboard enough to cover over the edges.

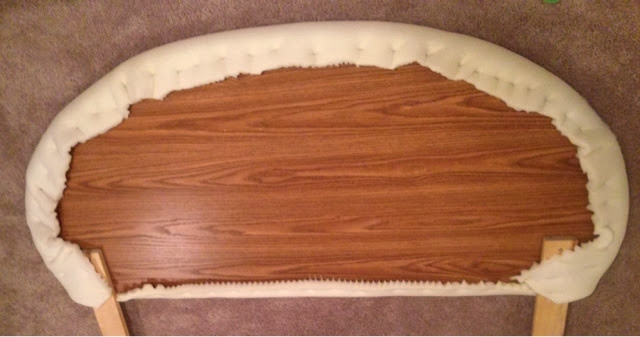
2. Since our head board was round I stapled the foam to the back to secure it. Cut of the excess.
3. Open and unroll the batting (I used a twin size since our head board is queen sized). Roll the batting over the headboard and staple to the back. Cut off the excess.


4. Now cover the area with the fabric. I wanted 6-8 inches covering the back side of the head board. I didn't pull very hard when wrapping the fabric because I wanted it all to look smooth with no folds.


I also stood the headboard against a wall while I did this part I felt it was easier.
I just stapled yet again the materials to the back to secure it. I did the staples about one inch apart.

Here is the finished project.
Now I didn't cover the back because it will be against a wall I just trimmed the excess materials.
Hope you enjoyed the DIY!
No comments:
Post a Comment